Until I had my first glass of beer at Tom and Grace’s house, I’m not sure I had really appreciated or comprehended the extent to which I missed the simple pleasure of the company of other people. Sure, I am back at work and see friends from there all the time, but conversations tend to be about work, and that work is getting pretty stressful for all of us in the absence of proper exams for the students in the summer. Sitting around, shooting the breeze and, later on in the night, singing along to Piano Man (loudly and badly) were all things that made me very happy indeed. Suffice it to say the following day was a write off.
Since then, we have hosted 2 separate sets of people for a BBQ (in suitable numbers and suitably socially distanced of course) and have visited Polly’s mum and my parents. It has been joyous. I’ve cooked a whole load of stuff on the Big Green Egg, some of which I have written about before but I did do 2 new dishes.
One was a roaring success, the other wasn’t.
Beef BarbAcoa
Now I don’t say this lightly, but this is one of the best things I’ve cooked on the Egg. The origins of the dish are in Mexico where the whole head of a cow or pig would be cooked in the ground protected from the earth by large leaves. In many ways, it is pretty similar to the Braised Ox Cheeks I’ve made before and follows a similar process to many braised dishes in that the meat is smoked for a couple of hours before being finished off covered in some kind of liquid. I used Ox cheeks but you could use pigs cheeks, or brisket, or short ribs, or Boston Butt I’m sure.
Ingredients:
- Ox cheeks – 1 cheek for every 2 people seems about right
- Dried chillies (I used Ancho, Chipotle and Guajillo from Cool Chile Company)
- 2 onions
- 3 carrots
- 2 celery sticks of celery
- 3 cloves garlic
- 1 large spoonful of Chipotles in Adobo
- 500ml Beef Stock
- A dry rub of your choice
- Salt & Pepper

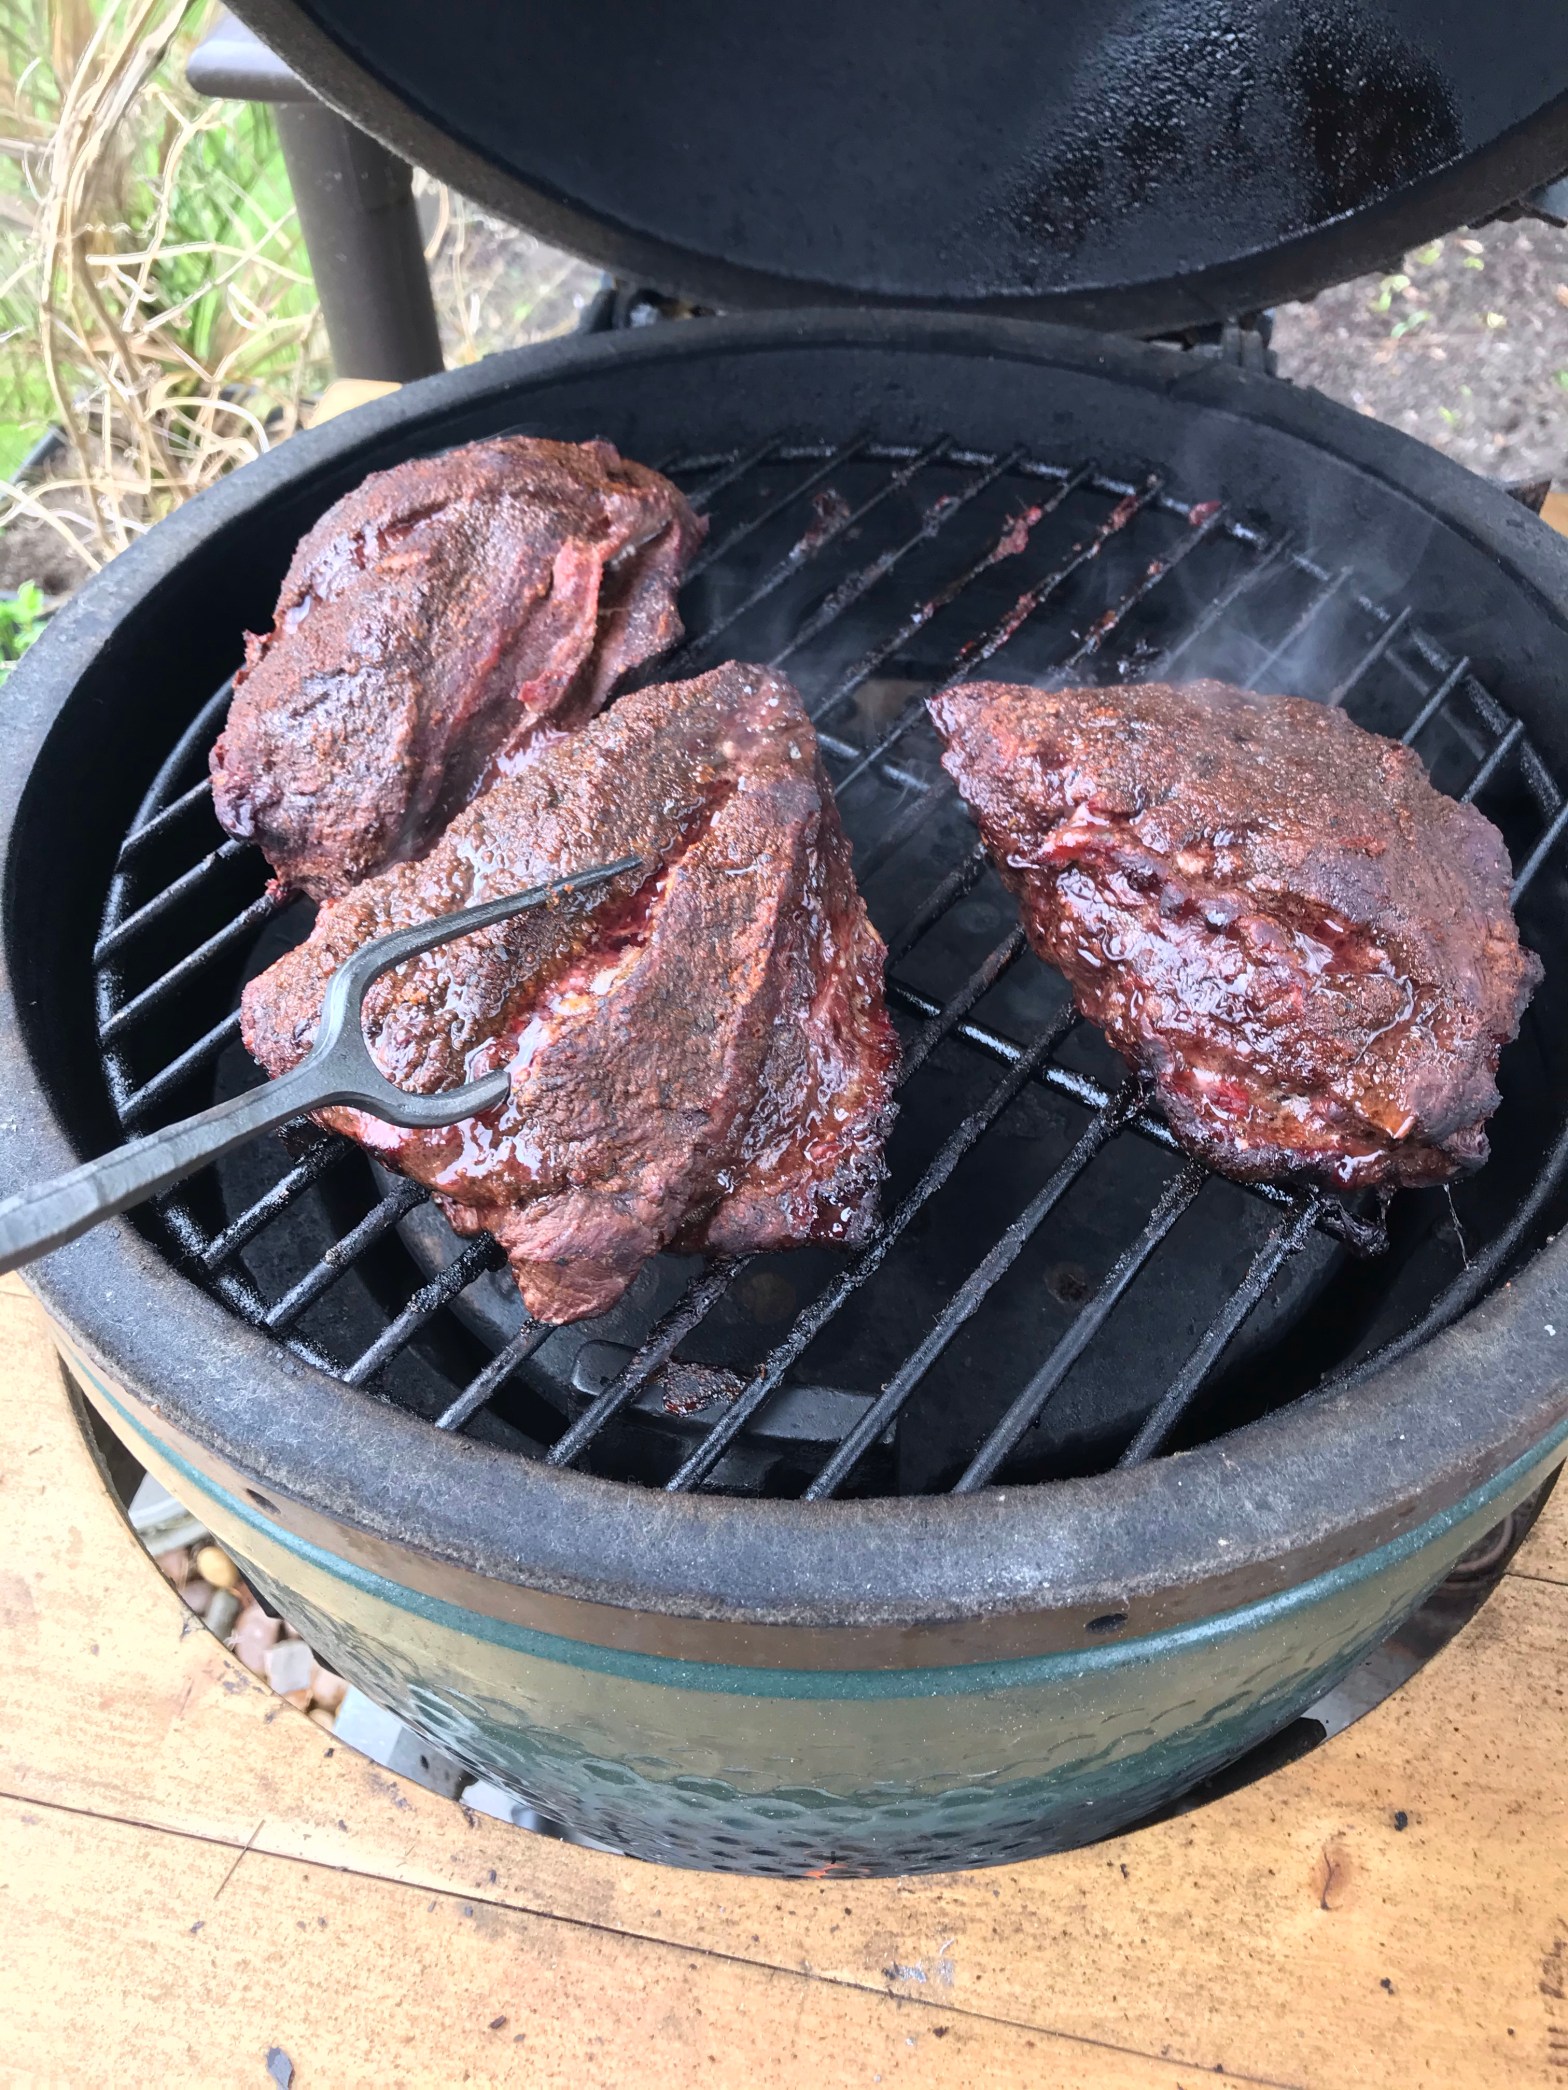
To begin with, set your Egg or smoker for indirect cooking at about 125C. You can use any kind of smoking wood you like I reckon, but for this I soaked a handful each of whisky barrel oak and hickory chips for about 45 minutes before cooking.
Add a good beef rub to your Ox cheeks – I used Angus and Oink Moo Mami – and let them sit for half an hour to let the rub stick nicely. Once you are ready, drain your smoking chips, add them to the fire and put your cheeks directly onto the grate for a good couple of hours.
As the 2 hour mark is approaching, roughly dice all the vegetables and sweat them gently in a pan (which will ideally be transferrable to your Egg later) for 5-10 minutes. While they are sweating, take your dried chillies and dry-fry them in a heavy frying pan or skillet for a couple of minutes each side – this will soften them and make them more pliable. Let them toast a bit as this will add an extra layer of flavour. Once you are happy with them, take them off the heat and slice them open to release the dried-out seeds from inside, then shred them as finely as you can with your knife and add them to the veg. To this pan add a big dollop of chipotles in adobo and give everything a good stir.
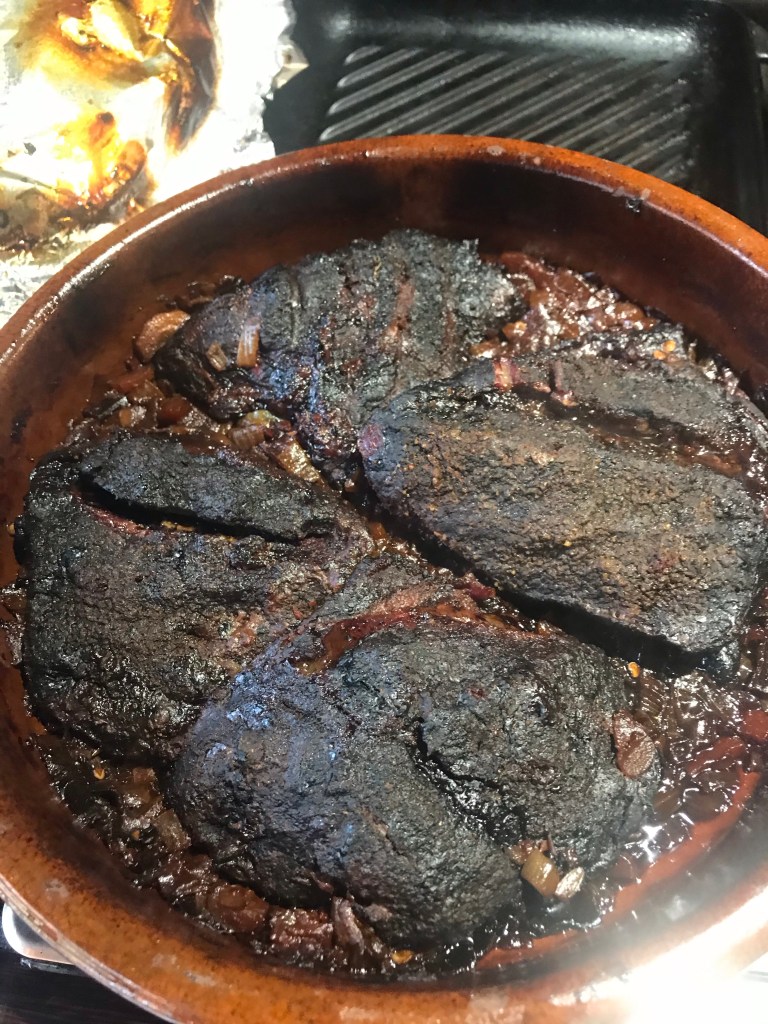
Check your Ox cheeks – they should have developed a good colour and if you poke them with a skewer (or newly acquired BBQ Fork) they should be feeling reasonably tender. For the final braising, I used a nice terracotta dish which fits my Egg perfectly as I don’t have a skillet that fits so I transferred the sweated veg into it and laid the cheeks over the top. I then poured in the beef stock. 500ml was the perfect amount – it covered all the veg, but didn’t encroach onto the cheeks themselves. I covered the dish tightly with foil and plonked it back in the Egg where I left it for a further 4 hours. They are done when they offer zero resistance when being probed – whatever you use should slide effortlessly through the meat.
Take the dish out of the Egg and carefully lift the cheeks into another dish, keeping them covered with foil while you finish off the sauce. Basically, this is made by blending down the vegetables and the cooking liqour from the braising dish. I used a mouli-legumes for this as I find it very effective at filtering out the tough bits of dried chilli which can remain. You can use a stick blender to achieve the same result, but it might be worth passing the whole lot through a sieve before the next stage just to be sure. Check the seasoning and add salt and/or pepper if you think your sauce needs it. The finished sauce should be pretty thick so it might need to be reduced over a high flame if it’s too liquid.
Go back to the cheeks and, with 2 forks, shred the meat, pour over the sauce and mix well (but carefully – it’s nice to keep some biggish chunks). The finished result is sensational in taco or wraps. I made some flatbreads with yoghurt and self raising flower which worked well. Add a big spoon of your Barbacoa to your flatbread and top it off with coleslaw and a bit of guacamole, finishing with a squeeze of lime.
Hot Smoked salmon
If you indulge in as much web-based research as I do on the subject of live-fire cooking, then I am sure you will have seen people doing hot smoked salmon where they have a whole side of the fish nailed to plank of cedar wood next to a lovely fire of Birch logs. I’ve done quite a bit of cold-smoking of salmon so I was quietly confident I could replicate the efforts of Bawden, Mallman and Bray et al.
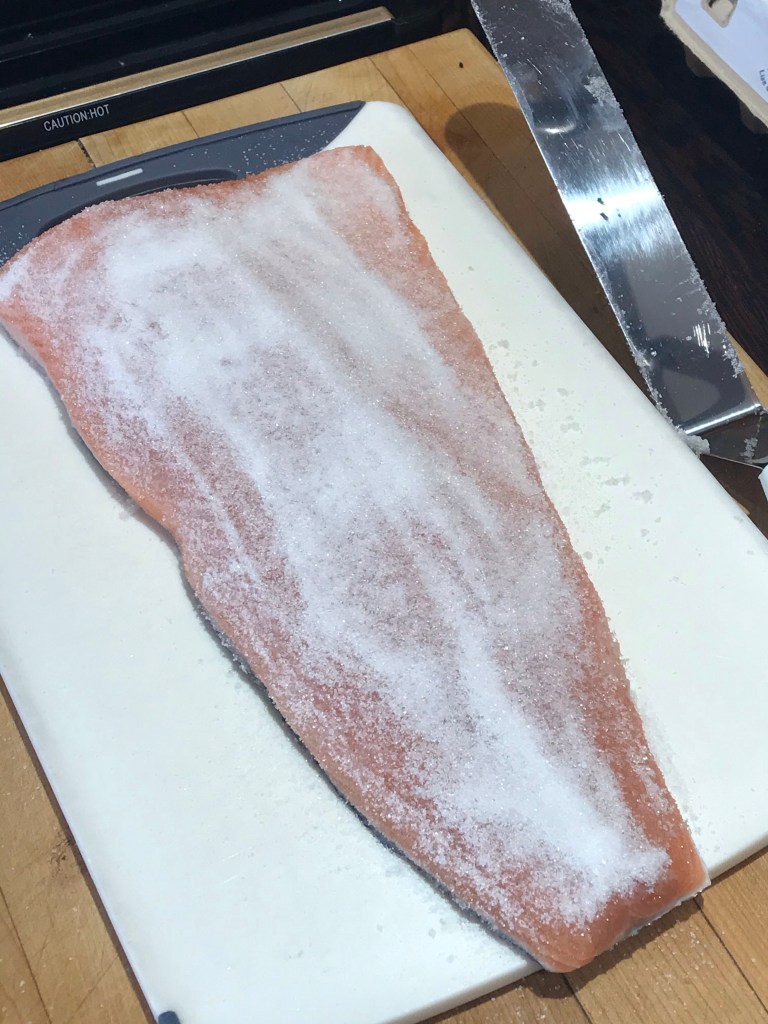
I started as I always do by curing the salmon in the fridge for 24 hours in a 50:50 mixture of salt and sugar. I just sprinkled a thin layer over the fish (thinner still over the tail end) and vacuum-packed it all up. This draws some of the moisture from the flesh and helps to keep it safe for eating later. When it’s finished curing, the flesh should be noticeably firmer to the touch. I then rinsed off the remaining cure under the cold tap and patted dry with kitchen paper.
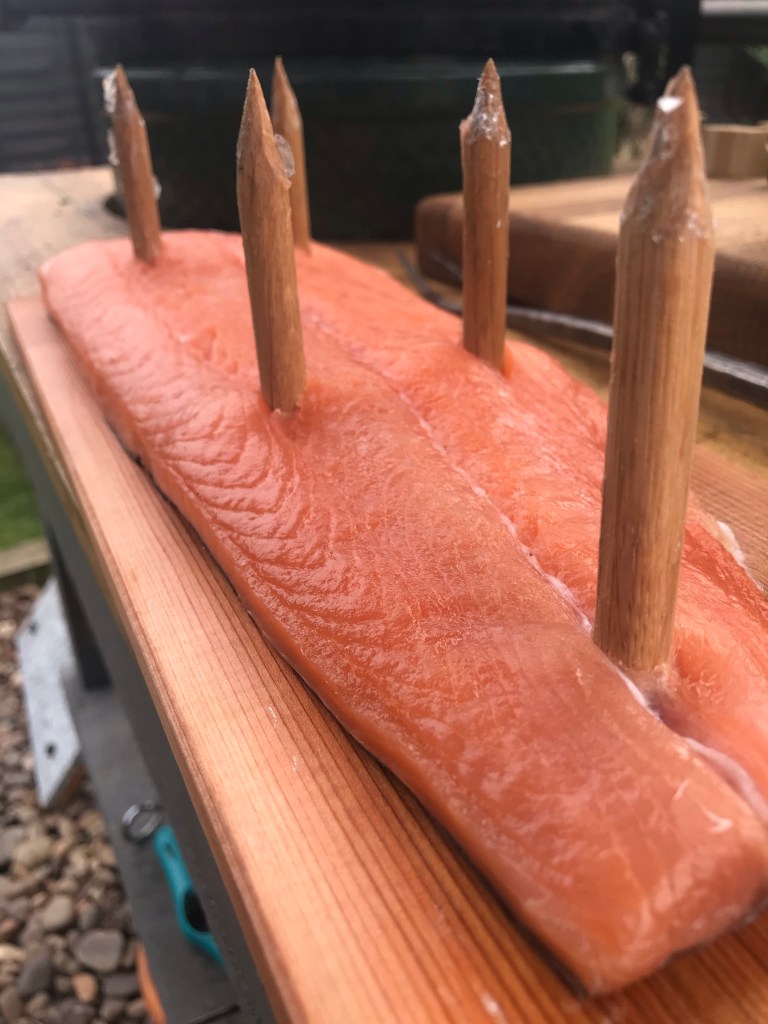
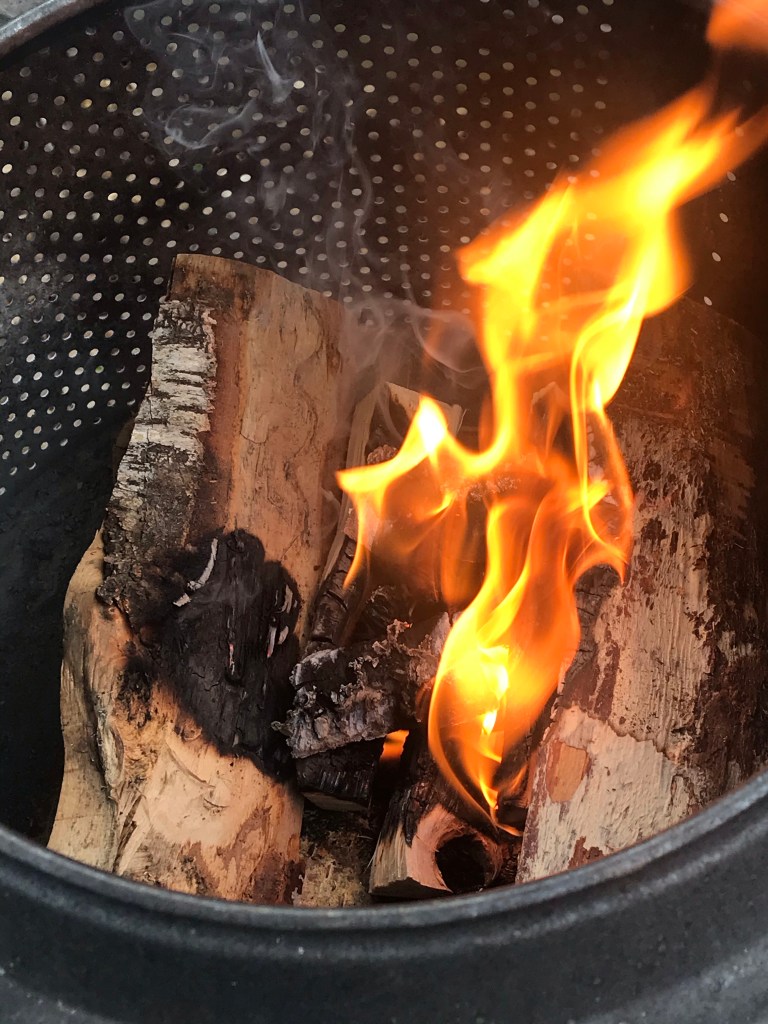
I took 5 oak dowel pegs which I whittled into sharp points and then drilled holes into my cedar plank to accept the pegs. After soaking the wood in water for half an hour, I then carefully pushed the salmon down onto the spikes and painted on a mustard and dill glaze which I adapted from the Niklas Eksted book “Food from the Fire”. A few years ago I upcycled the drum of an old washing machine to use as a kind of brazier and it was in this that I prepared my fire and constructed a Heath-Robinson system of poles and hooks to hold the cedar plank in place.
Now at this point I was very much shooting in the dark. I started with the thicker end of the salmon at the bottom, nearest the fire and after about 20 minutes I gave it a poke and found it was barely warm, so moved the plank nearer the fire. The plank immediately caught fire so I turned the whole thing upside down so the tail end was now at the bottom. I played about with the angle of the board and after 45 minutes in total reckoned it was probably done.
It wasn’t.
Because it was already cured, it still tasted pretty good and the flesh that came from the end that caught fire was really nice; firm and cooked through with a nice hint of smoke. The moddle section was warm, but still very soft. Not unpleasant, but not amazing either.
I think I needed to be braver – I was worried about overdoing things, but there is a lot of moisture in fish and so bringing it nearer to the flames would produce a better result. Building a bigger and hotter fire in general would be important too I think. Certainly, my cedar plank and spikes have got plenty of life left in them, so at some point in the future I’ll give it another go and report back on how it went.
